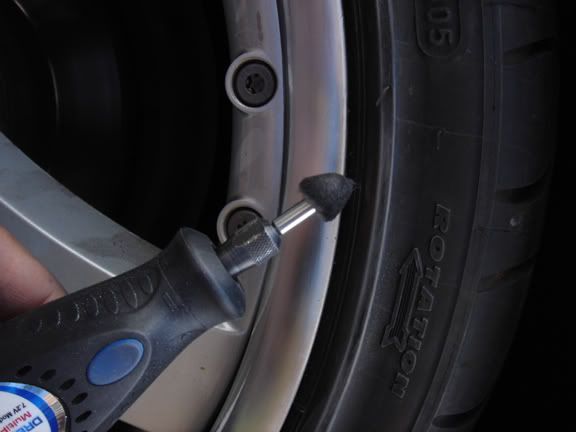
Since I've done this a few times now, I figured it's time to share what I've learned… plus I've been hit up a few times to write this DIY'r, so here goes.
This will be PART I of the DIY'r. I will follow up shortly with the rest including photos. Just wanted to get this part out of the way since ppl are asking.
Keep in mind, this type of DIY'r is not black and white, it will take some patients along with trial and error. And remember, don't panic, if you screw up, the worst that can happen is you have to redo it - it may cost you some more time and paint, but with paint, nothing is permanent.
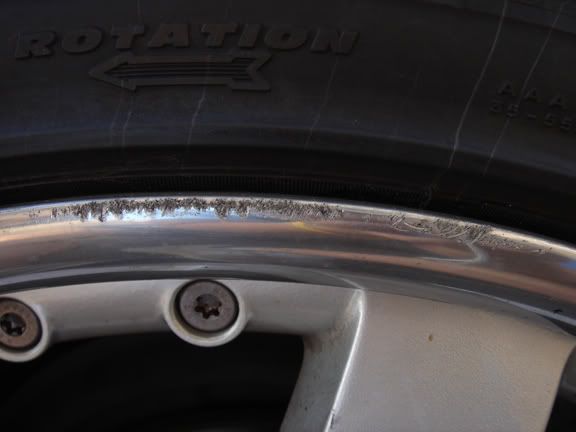
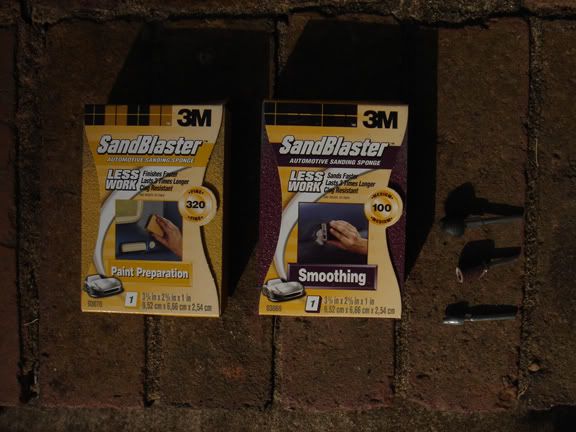
WARNING: I do not recommend first timers of this type of DIY'r to try this on anything other than bumpers and valences - re-spraying door panels, hoods, fenders, etc takes a lot of practice and should NOT be attempted unless you feel super confident.ITEMS NEEDED:- 100 grit wet/dry sand paper
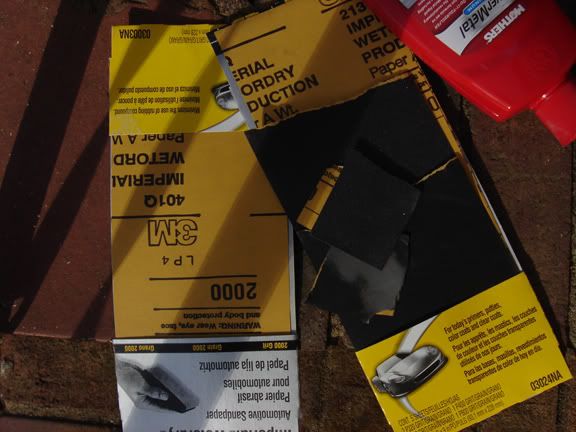
- 300 grit wet/dry sand paper
- 600 grit wet/dry sand paper
- 2000 grit wet/dry sand paper
(you can buy the larger sheets and cut them to size or buy the smaller stuff already pre-cut to fit the sanding blocks I will list below - I found that buying the bigger sheets gives you more for your money and you can always save the left overs for a future mod)
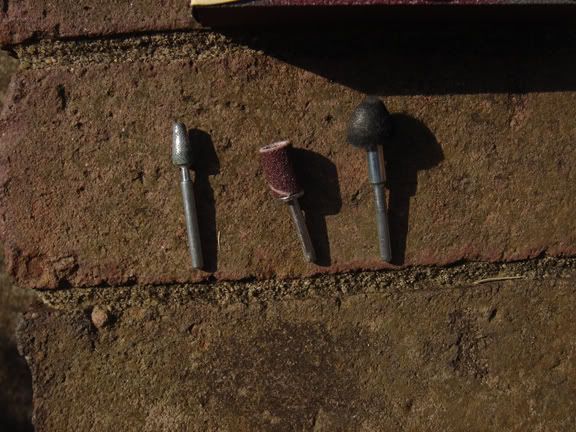
- Sponge sanding block
- Hard rubber sanding block
- Blue painter's tape
- Masking paper (can be any kind of paper, but the brown paper rolls you get from Home Depot in the painter's section seem to be cheep and work super well)
- Depending on the task at hand, you may need some sort of body filler to fill in holes or deep scratches on the item that you are painting. For items that are flexible such as bumpers and valences, bondo makes a two-part filler that when dry, stays somewhat flexible. For items that are hard and rigid, you can use any type of body filler that you are comfortable with.
- Plastic spreaders
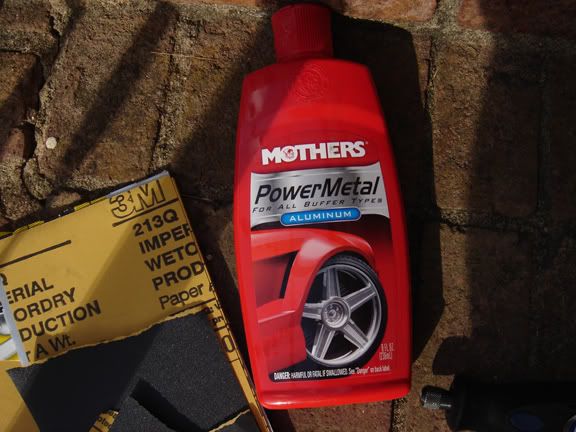
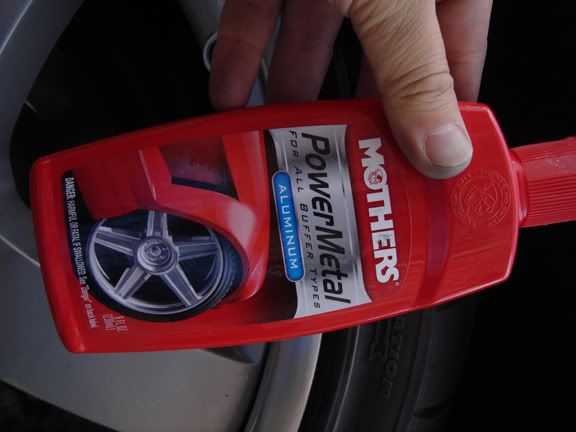
- Rubbing compound
- Wax
- Applicator pads
- soft towels/cloths (for wax and compound removal)
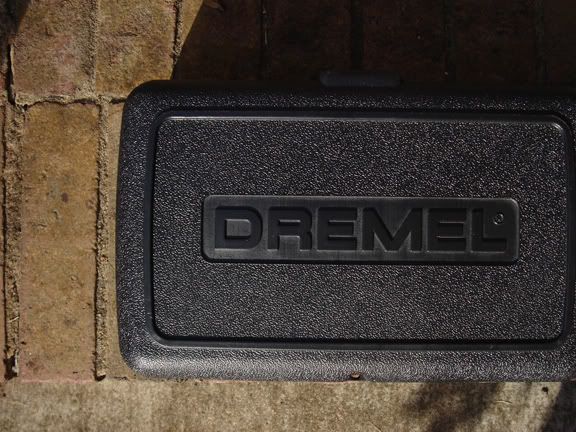
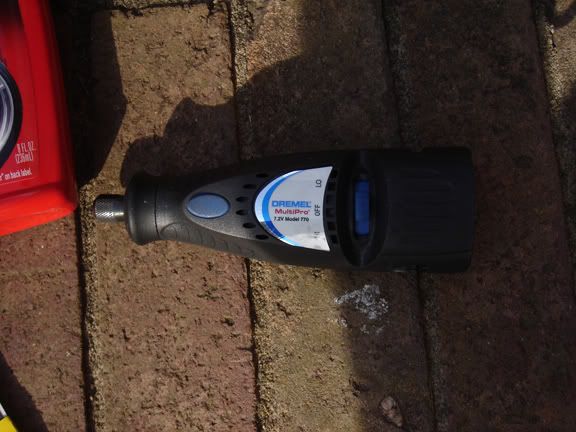
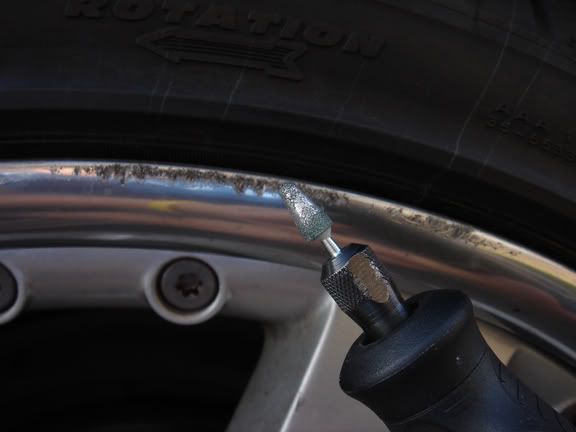
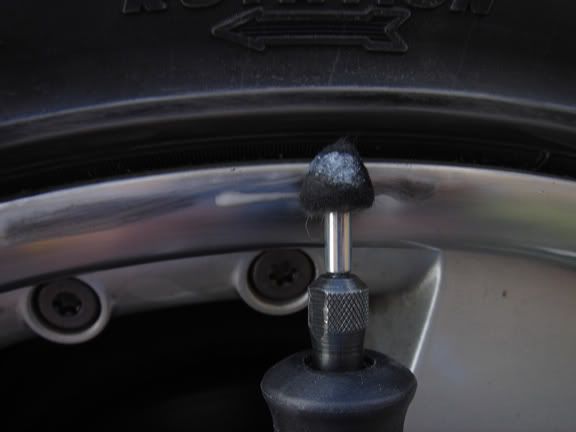
- Some sort of power tool to apply wax/rubbing compound. You can use good'ol elbow grease, but I find that a cordless drill and a applicator pad attachment saves a lot of time and energy and the results are much more apparent.
- Applicator pad attachment
- bucket (for clean water and for soapy water)
- sponge (to wash items being painted
- towel (to dry off washed items)
- Primer paint
- Base coat paint
- Clear coat paint
- Adhesive Promoter (if painting something plastic/rubber)